
Installing postal on Ubuntu 16.04 Server
Postal is a complete and fully featured mail server for use by websites & web servers.It used be called Appmail but then the project closed and went open source.
Think Sendgrid, Mailgun or Postmark but open source and ready for you to run on your own servers. Postal was developed by aTech Media to serve its own mail processing requirements and we have since decided that it should be released as an open source project for the community.
The following prerequisites are required to run Postal. We recommend running Postal on an Ubuntu 16.04 server with at least 8GB of memory and enough disk space to store your repositories.
Ruby 2.3 or higher
MySQL or MariaDB database server
RabbitMQ server
Node.js (for javascript compilation)
Git (for accessing the repository)
You will need a minimum two static IP addresses to configure the system. IPv6 is optional but highly recommended where possible. You will also need access to control the DNS for the domain that you wish to install Postal on.
Installing dependencies:
Install Ruby
sudo apt install software-properties-common
sudo apt-add-repository ppa:brightbox/ruby-ng
sudo apt update
sudo apt install ruby2.3 ruby2.3-dev build-essential
Install MySQL
sudo apt-key adv --recv-keys --keyserver hkp://keyserver.ubuntu.com:80 0xF1656F24C74CD1D8
sudo add-apt-repository 'deb [arch=amd64,i386,ppc64el] http://mirrors.coreix.net/mariadb/repo/10.1/ubuntu xenial main'
sudo apt update
sudo apt install mariadb-server libmysqlclient-dev
Some additional configuration may be required to optimise your MySQL server. This is outside the scope of this documentation.
Install RabbitMQ
curl -sL https://www.rabbitmq.com/rabbitmq-release-signing-key.asc | sudo apt-key add -
sudo add-apt-repository 'deb http://www.rabbitmq.com/debian/ testing main'
sudo apt update
sudo apt install rabbitmq-server
Install Node.js
sudo apt install nodejs
Install Git
sudo apt install git
There is documentation for installing the core prerequisites if needed.
Preparing the database
Postal has a single main MySQL database that contains all configuration and each mail server you create will have its own database that stores its messages and other mail-server specific content. No configuration is stored in the mail server databases.
mysql -u root -p -h 127.0.0.1
Begin by creating your main database. Run the commands below to create a new database. Replace XXX with a suitable password.
CREATE DATABASE `postal` CHARSET utf8mb4 COLLATE utf8mb4_unicode_ci;
GRANT ALL ON `postal`.* TO `postal`@`127.0.0.1` IDENTIFIED BY "XXX";
Postal will handle the creation of databases for your mail servers but you need to give it access to do this. Run the following to add a grant that permits a user to manage all databases that are prefixed with postal-.
GRANT ALL PRIVILEGES ON `postal-%` . * to `postal`@`127.0.0.1` IDENTIFIED BY "XXX";
Setting up RabbitMQ
Postal requires its own RabbitMQ vhost and user to connect with. You can create these using the following commands:
sudo rabbitmqctl add_vhost /postal
sudo rabbitmqctl add_user postal XXX
sudo rabbitmqctl set_permissions -p /postal postal ".*" ".*" ".*"
Preparing your operating system
Postal should be executed as its own user on your server. Run the following commands to create a new user with a home directory in /opt/postal.
sudo useradd -r -m -d /opt/postal -s /bin/bash postal
Postal needs to be able to listen on privileged ports (for example 80, 443 and 25). To enable this, we will allow ruby to listen on these ports. On a shared server this would be a security risk however on a server dedicated to Postal, this shouldn't cause any issues.
sudo setcap 'cap_net_bind_service=+ep' /usr/bin/ruby2.3
Installing system-wide gems
To run Postal, you'll need to have bundler and procodile installed on your system. Install them both:
sudo gem install bundler
sudo gem install procodile
Cloning the repository
Now, we're ready to get the repository cloned onto your server. Run the clone command as your postal user and clone into the /opt/postal/app directory.
sudo -i -u postal git clone https://github.com/atech/postal /opt/postal/app
The master branch (which is cloned by default) will contain the most stable version of the software. If you wish to work with a less stable branch, use the devel branch.
Postal provides a single binary that allows you to interact with it from any directory on your server. To make this available everywhere, simply symlink it into the /usr/bin/postal directory.
sudo ln -s /opt/postal/app/bin/postal /usr/bin/postal
Install Ruby dependencies
This will install all the required dependencies required to run the application.
postal bundle /opt/postal/app/vendor/bundle
Setting up configuration files
Before you can do anything, you'll need to generate the default configuration. By default, configuration is kept outside of the repository file structure and is stored in /opt/postal/config. Generate the initial configuration with the following command:
postal initialize-config
This will create a number of files for your configuration, including various private keys & certificates as well as a default postal.yml configuration file.
Configuring
Open up your new postal.yml configuration file from /opt/postal/config. Follow the comments in the example file and update items as appropriate based on your installation.
Initialize database & assets
postal initialize
Create your initial admin user
postal make-user
This will guide you through setting up a new admin user for your installation. You'll be prompted for an e-mail address, name & password. You can then use these when you first login.
Starting the application
To start the application, just run the following command. This will run postal in the foreground. This is only useful for testing and development. You'll run it in the background when you're sure everything is working.
postal run
If everything looks OK, you can just CTRL+C this and continue. If there are any errors, you should investigate these before continuing.
Now, you can run postal in the background on your server:
postal start
You can look at the status at any time using postal status.
Configuring Nginx
The Postal management interface and API should sit behind nginx. Install it and configure it as appropriate.
sudo apt install nginx
Once installed, you can change the default site configuration to match something suitable. The repository contains an example config file that you can copy into place.
sudo cp /opt/postal/app/resource/nginx.cfg /etc/nginx/sites-available/default
You can create a self signed SSL certificate if you need to (otherwise put your own
key & cert in /etc/nginx/ssl/postal.crt and postal.key)
sudo mkdir /etc/nginx/ssl/
sudo openssl req -x509 -newkey rsa:4096 -keyout /etc/nginx/ssl/postal.key -out /etc/nginx/ssl/postal.crt -days 365 -nodes
Make the appropriate changes for your domain and SSL certificate and then restart
sudo nano -w /etc/nginx/sites-available/default

sudo /etc/init.d/nginx restart
This might be a good time to set up Let's Encrypt rather than using a self-signed certificate. CertBot is a good way to go about setting this up.
Accessing the web interface
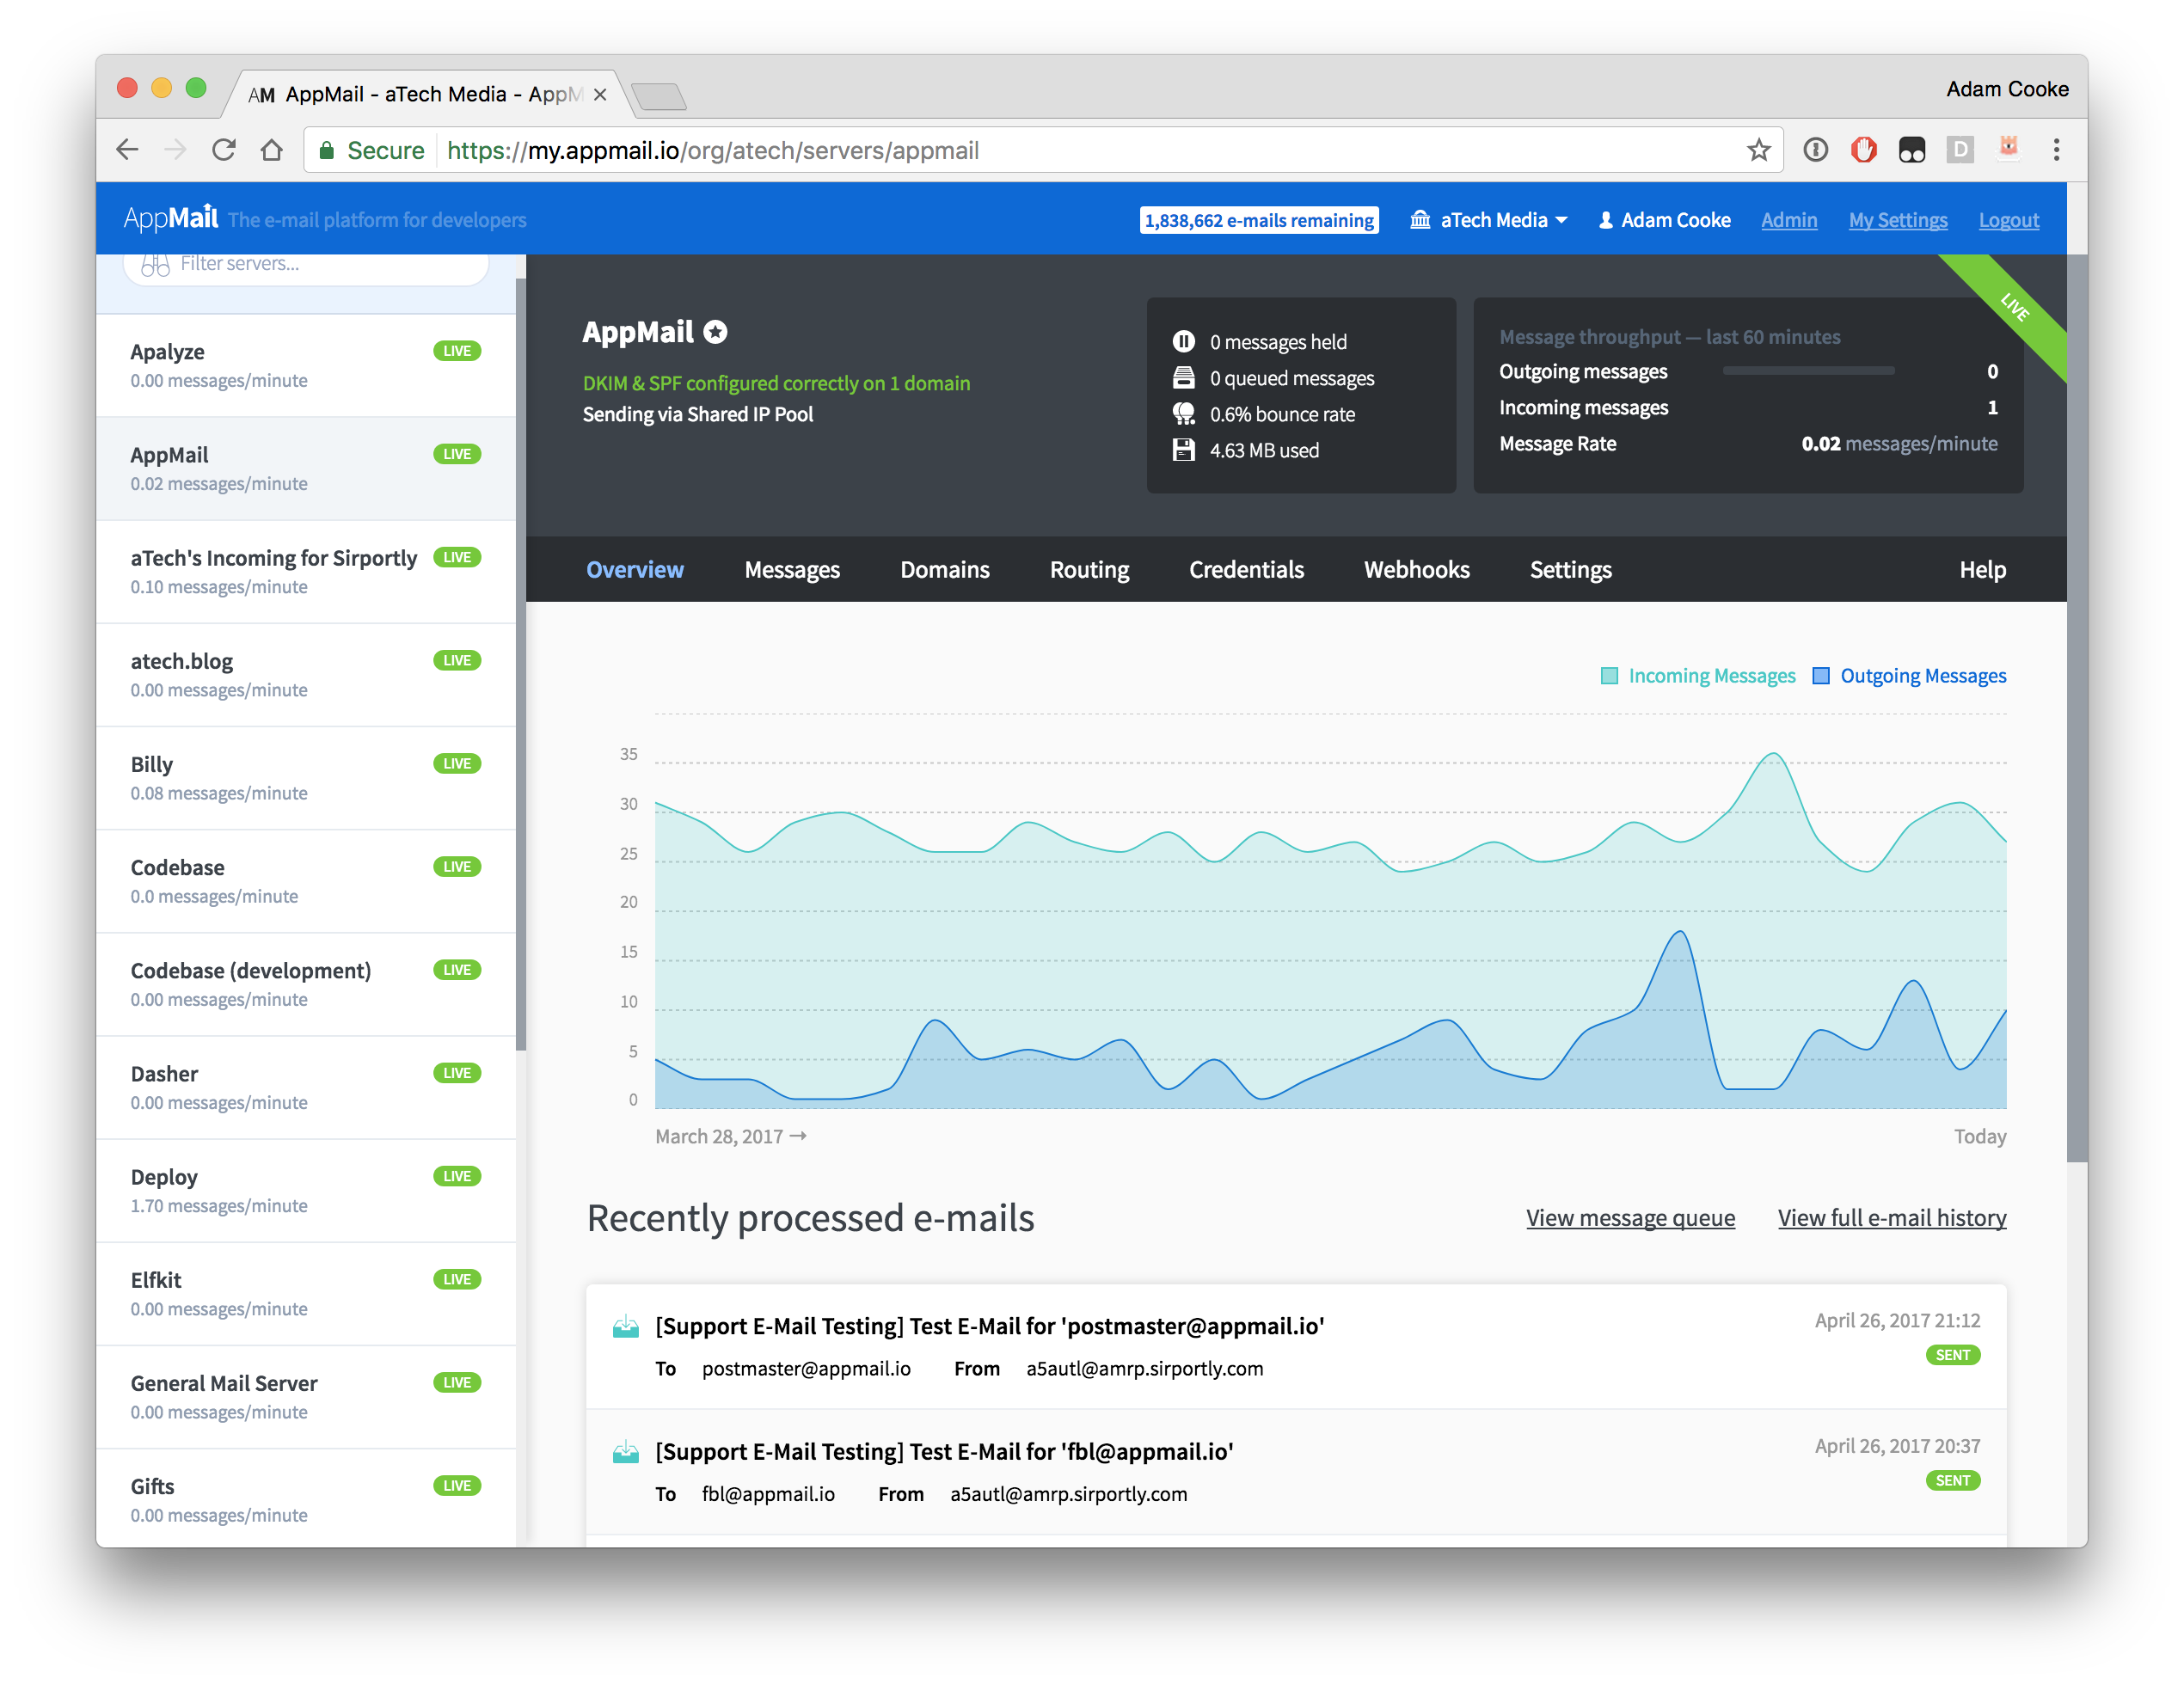
You can now navigate to your domain and you should see the Postal web interface asking for a login. You can login using the credentials you created earlier.
You can start by creating your own organization & mail server and exploring the system.
By default, the system is not configured to use any IP pools that are configured. Messages will be sent from the main IP on the server. Configuring multiple IP pools will be covered in other documentation.
Configuring Postal SMTP
The Postal system itself needs to be able to send e-mails. This is something that needs to be configured in your postal.yml configuration file. You can send these messages using Postal itself. Just create a new mail server and use its credentials in your config file. Postal sends emails when servers are approaching limits, new users are invited, password resets and more.
Once you have added the configuration for this, you can test the configuration using the command below. Replace the e-mail address with one of your own.
postal test-app-smtp youraddress@domain.com